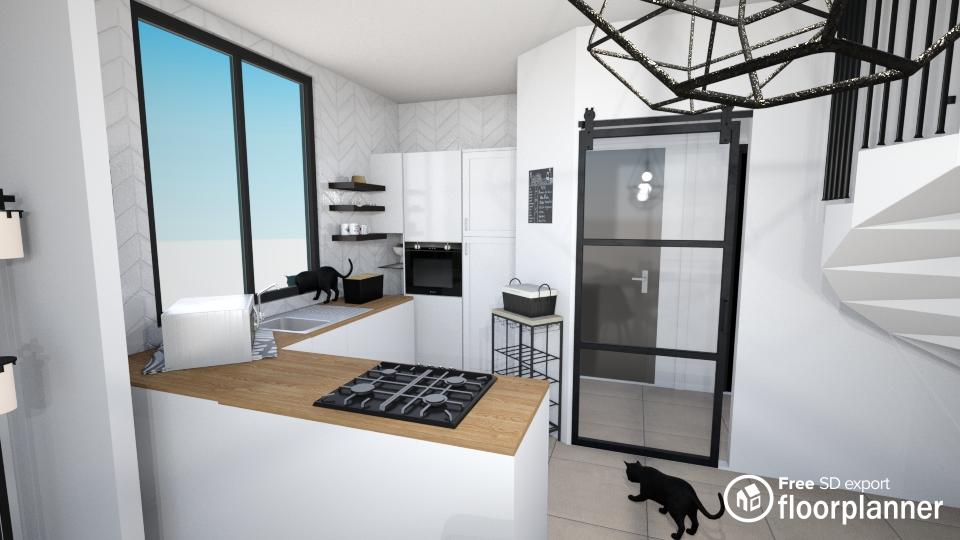
Painting your kitchen cabinets can be a budget-friendly alternative for replacing them. Rather than paying a painter to do so, it can also be your DIY project, saving even more on your kitchen renovation. However, there are a few things to keep in mind when doing so, but no need to worry, this article will walk you through each step!
- Preparations
- Pre-work
- Painting
- Finalizing
Preparations
The first step is checking the material and condition of your cabinets to determine what supplies and paint are required, and what pre-work needs to be done. Make sure that the paint you buy is the correct one for the type of material and buy other supplies like tape, brushes, and primer. Check if you can paint the cabinets directly or you need to use stripping products and sandpaper first. Keep in mind that this is a time-consuming process and being in a hurry will do no good for the results.
Pre-work
Before starting to paint, make sure that you take the doors for the best result, use the tape to make sure things don’t get messy, and open a window for good ventilation. If the paint on the cabinets is still in good condition, there is no need to apply stripping products and sandpaper and you can start applying primer straight away. This is an important step, where this provides a suitable surface for the paint to stick and cover any imperfections.
Painting
Start by painting the frame with a brush and use a roller or sprayer for the larger surfaces. Make sure the paint is dry before turning around the doors for the other side. If necessary, apply a second finishing coat.
Finalizing
Now you can finalize your kitchen cabinets by adding the shelf liners and door handles. This is also the moment to apply lighting. After this is done, you can reassemble the cabinets and enjoy your fresh (new) kitchen!