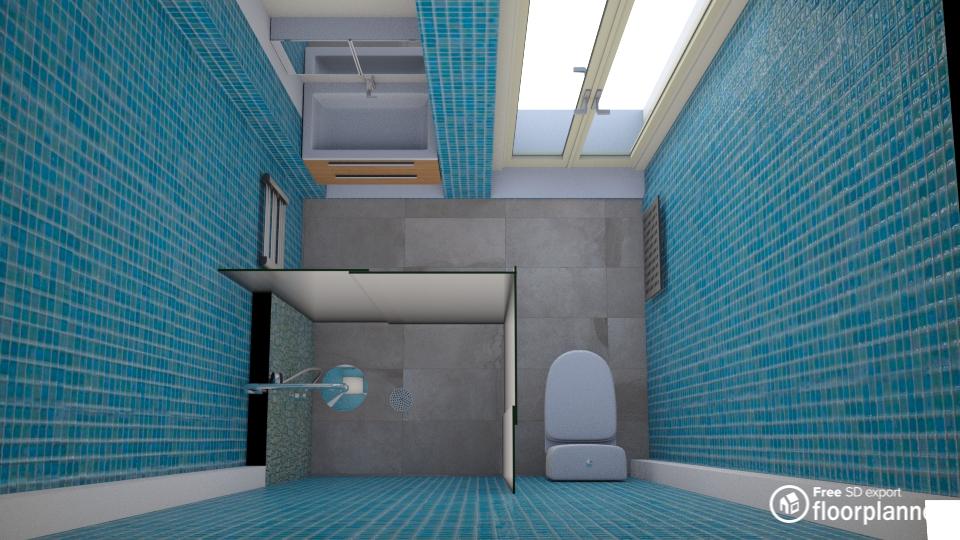
Laying bathroom tiles yourself is a great way to save money and not as hard as it might seem. A new tile floor can cover up any outdated floor, giving the bathroom a new fresh look, which will boost your property value as well. This article will show you how can save hundreds of dollars in just one weekend.
- Staying Safe
- Planning & Preps
- Pre-laying the tiles
Staying Safe
Before starting, check for cables and pipes underneath the floor where you plan to drill by using a detector. Do not forget safety goggles and gloves for any tile splinters coming off. A face mask will make sure you won’t breath-in dust when mixing the powder adhesive or when cutting the tiles. Additionally, knee pads will be worth the investment as you will spend a lot of time on the floor.
Planning & Preps
Make sure the floor is solid, level, clean, and dry, and determine whether you need a subfloor or thin underlayer. Make sure you buy the right adhesive as this differs for each subfloor. When buying your tiles, calculate the square meters of the space, and add ten percent for wastage that you will lose on the edges. It is recommended to lay down the tiles before starting to make sure there are no inconsistencies.
Pre-laying the tiles
Start off by measuring the width of the room and draw a line in the middle with a pencil. Place your first tyle directly against this line and lay a line of tiles towards the wall to see how large the gap is after all whole tiles have been placed. Do keep the five milimeter in between tiles in mind by using spacers. If the gap is too small (less than half a tile), then place your center tile exactly in the middle of the line and adjust the rest. Also, do keep in mind how the tiles will fit around toilets and bathtubs. Now you are ready to get started!